Imagine you're renovating a bathroom and need a solid foundation for tiles. Installing cement board is essential for durability and moisture resistance. You'll start by gathering important tools like a drill, screws, and thinset mortar. Preparing the surface is key, ensuring it's clean and level. But how do you perfectly position and secure each panel? Understanding the nuances of fastening and treating joints is critical for success. Curious about avoiding common pitfalls? Let's explore further.

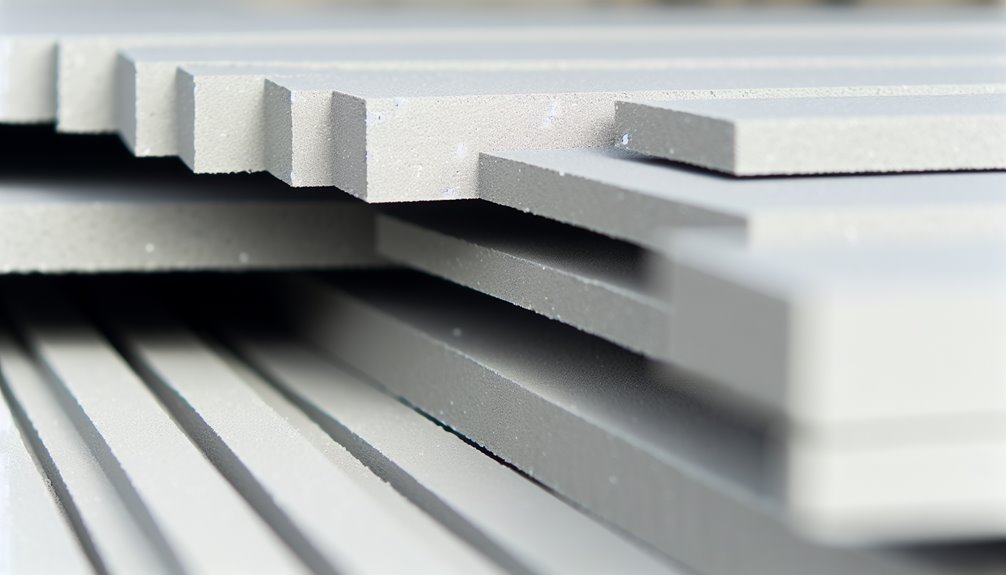
To guarantee a successful cement board installation, you'll need the right tools and materials. Start with cement backer board panels, which provide a sturdy foundation.
Use thinset mortar to fill voids and secure a solid bond during the cement board installation. For securing the boards, select backer board screws designed specifically for this purpose. Proper cement board screws spacing is essential; adhere to the manufacturer's specifications, typically every 8 inches.
A utility knife or scoring tool will help you make precise cuts, guaranteeing a perfect fit. Finally, reinforce all seams with alkali-resistant fiberglass mesh tape.
This combination of tools and materials will streamline your cement backer board installation, giving you full control over the process and ensuring the best results.
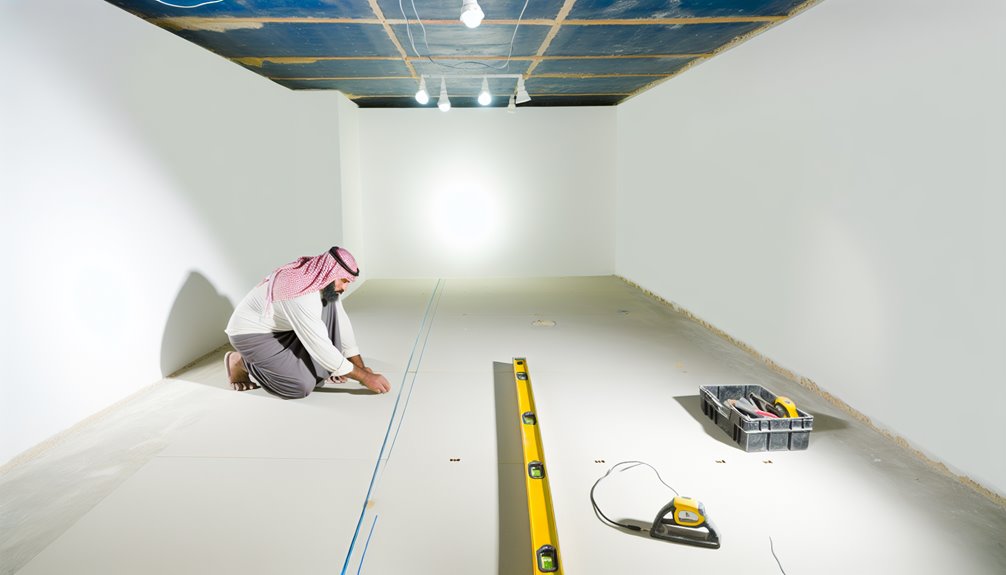
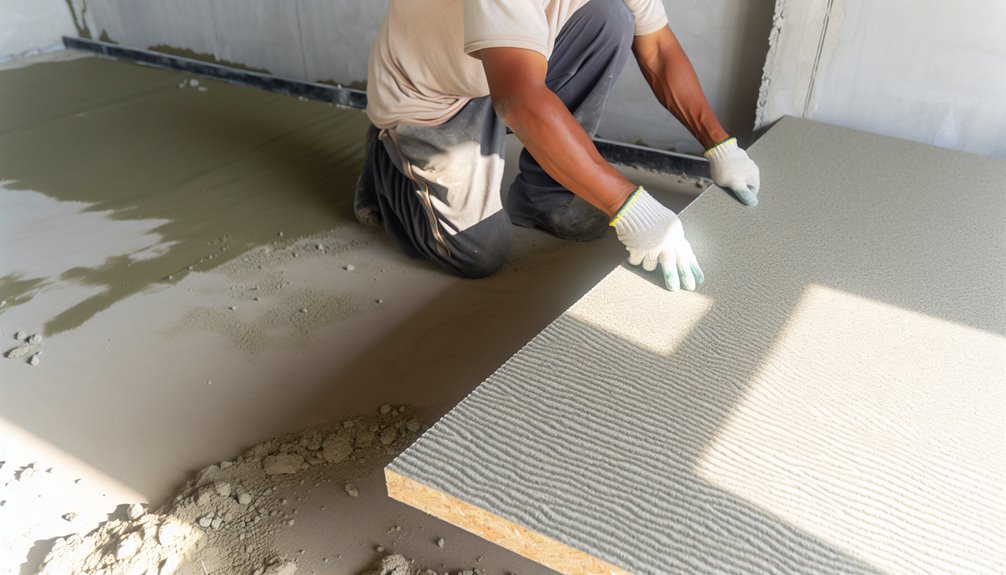
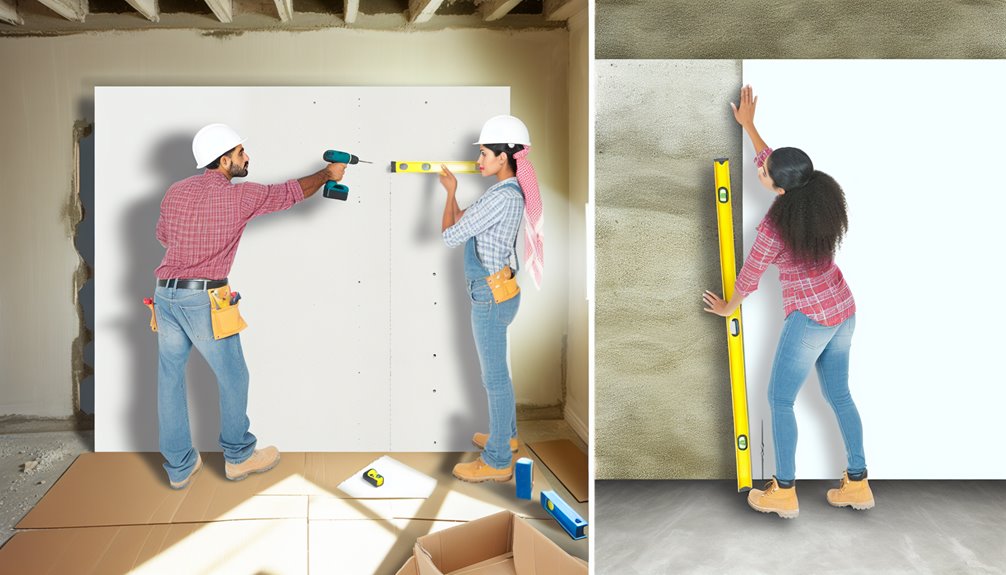
Before you install cement board, verify the surface is impeccably prepared to secure a successful installation. Start by confirming your subfloor or wall studs are clean and level. Remove any debris or loose materials to allow the cement board wall installation and cement board flooring underlayment to sit flat and secure.
Check that the framing spacing aligns with manufacturer recommendations to support the tile backer board installation effectively. Confirming these details guarantees that your cement board won’t flex or shift, reducing potential tile and grout issues later.
Ensure framing spacing meets manufacturer guidelines to prevent cement board flexing, minimizing tile and grout issues.
Proper preparation is essential for achieving a smooth, stable surface, preventing costly mistakes and enhancing the durability of your project.
With these steps, you’re set for a flawless installation.
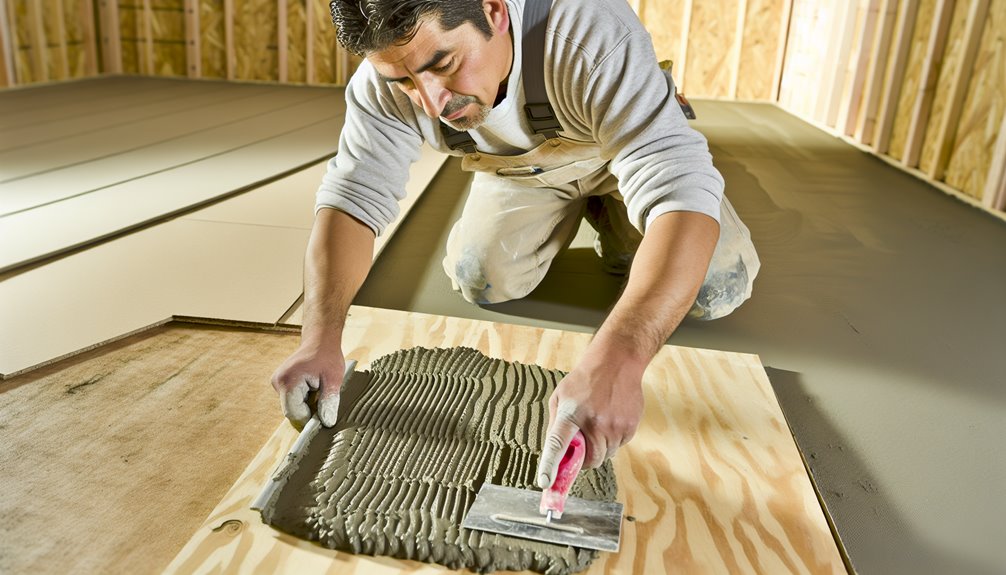
A essential step in cement board installation is applying a thin layer of mortar beneath the panels. This setup guarantees a stable base when you install a cement board floor.
Use cement board thinset mortar to fill small gaps between the board and subfloor, preventing flexing under the cement board under tile. This process is critical for long-term stability and often misunderstood but necessary for successful floor installations.
Having prepared the subfloor with a consistent layer of thinset mortar, focus on positioning and laying cement board sheets effectively.
Begin by cutting cement backer board to the desired size using a utility knife and straightedge. Make sure you leave a 1/16 to 1/8-inch gap between sheets for expansion. Stagger seams to avoid aligning them with subfloor seams, enhancing load distribution and minimizing cracking risks.
Once positioned, apply cement board joint tape along the seams. This step is vital for reinforcing joints and preventing future tile cracks.
Carefully press the tape into place, making certain it adheres well. By maintaining precision and attention to detail, you create a robust foundation ready for the next installation phase.
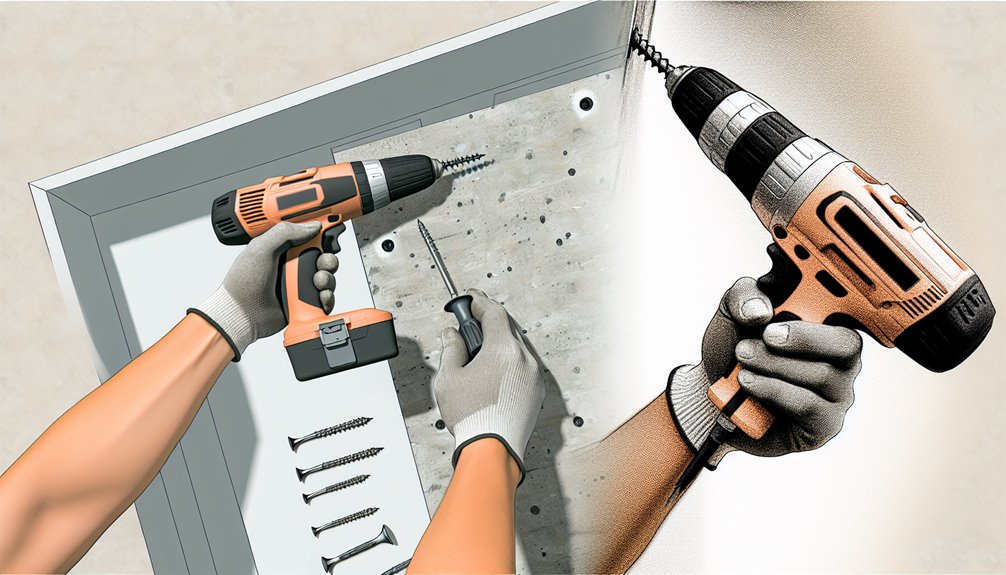
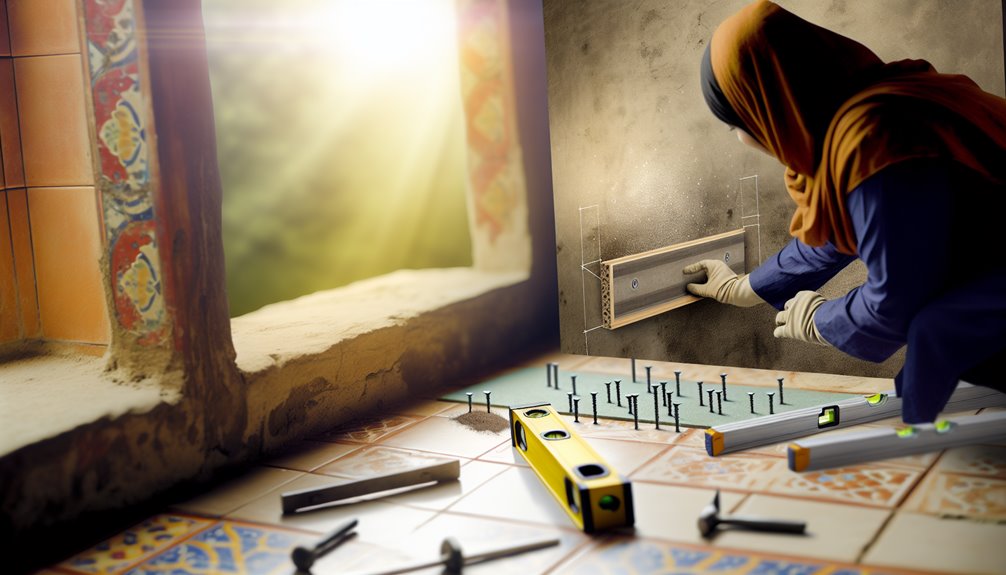
Fastening cement board correctly is essential for a durable installation. Use corrosion-resistant screws to prevent future issues. Avoid drywall screws, as they lack the necessary strength.
Position screws every 8 inches across the panel to maintain stability and prevent movement over time. Guarantee screws are slightly recessed but not overdriven, which could damage the board.
Securing the cement board with proper screws lays the groundwork for a stable installation, and now it’s imperative to focus on reinforcing the joints.
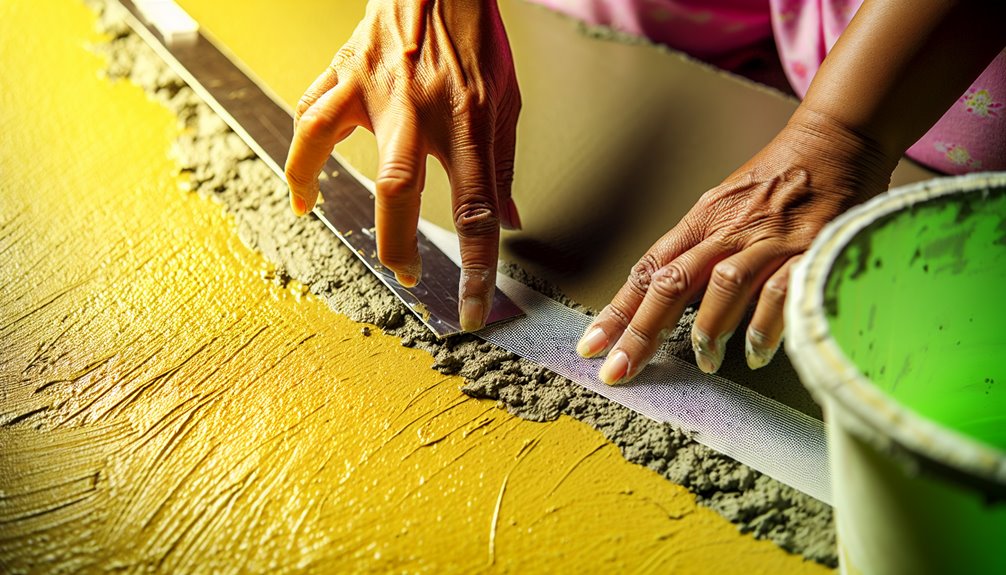
Start by applying alkali-resistant mesh tape over all seams. This step is non-negotiable to maintain joint integrity.
Applying alkali-resistant mesh tape over all seams is crucial for maintaining joint integrity.
Next, trowel thinset mortar over the taped seams, embedding the tape fully. This creates a unified surface, preventing potential cracks from transferring to the tile above.
Make certain the thinset is compatible with your cement board to avoid breakdown. Work meticulously, smoothing the mortar for a seamless finish.
This precise technique enhances durability, guaranteeing your installation stands the test of time. By reinforcing every joint, you maintain control over the process and ensure peak performance.
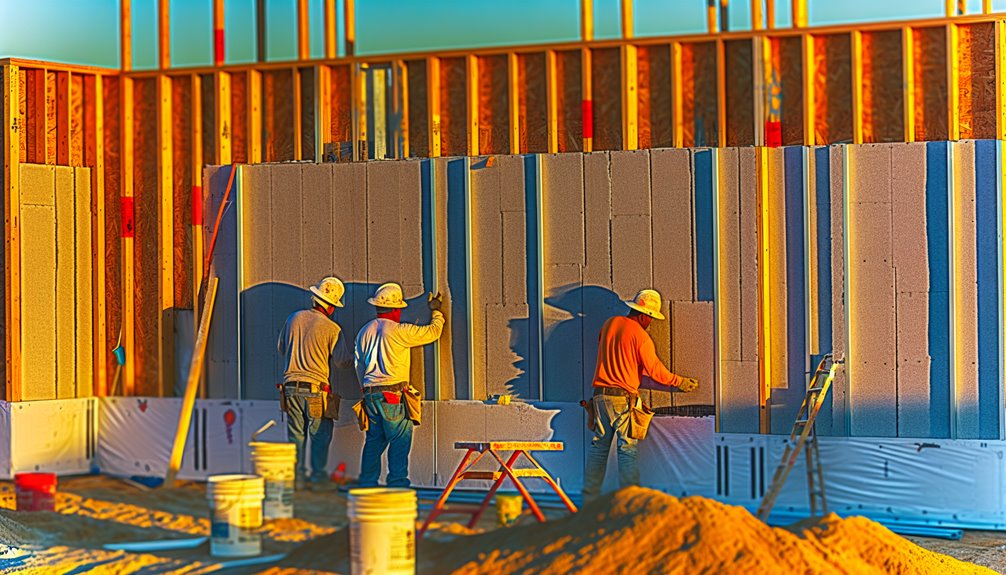
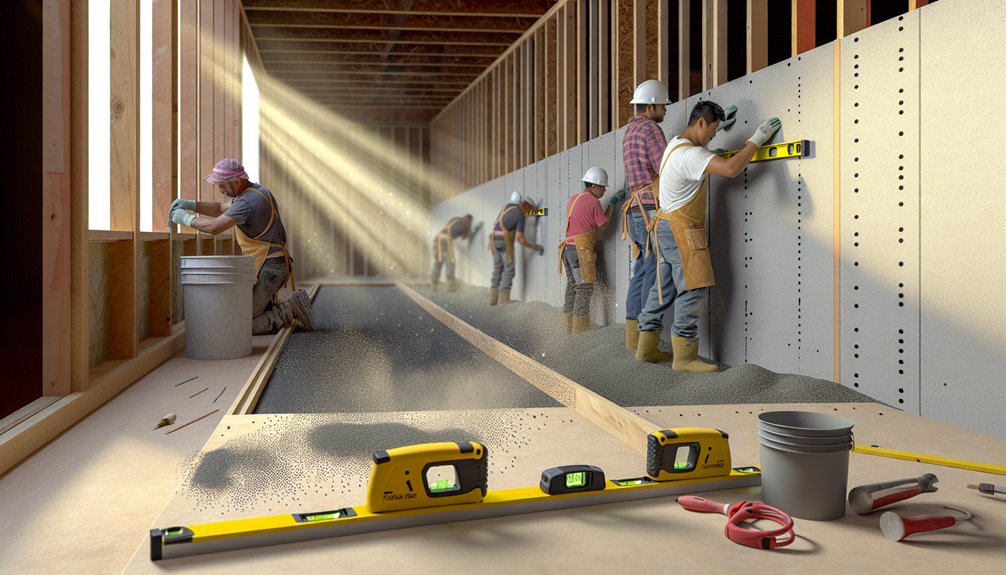
Cement board installation varies considerably between floors and walls, each requiring distinct methods to guarantee stability and durability.
For floors, you'll need to lay the cement board over a mortar bed, ensuring a full screw fastening pattern to prevent movement. This setup provides a stable base, essential for tile longevity.
In contrast, wall installation involves attaching the boards directly to studs, typically in wet areas like showers. This method offers a reliable surface for tile adhesion.
When comparing cement board installation for floors and walls, recognizing common mistakes is essential for a successful project.
Skipping thinset mortar is a significant error. It fills voids and prevents movement, ensuring a stable base.
Using drywall screws instead of cement board screws compromises holding strength and risks corrosion, leading to failure.
Untreated joints are another pitfall; they must be taped and mortared to prevent cracking.
Fastener spacing is vital as well—improper spacing can cause movement and instability. Follow manufacturer guidelines, typically every 8 inches on center.
Avoid these mistakes to achieve a durable and reliable installation, ensuring your tiles remain intact and aesthetically pleasing over time.
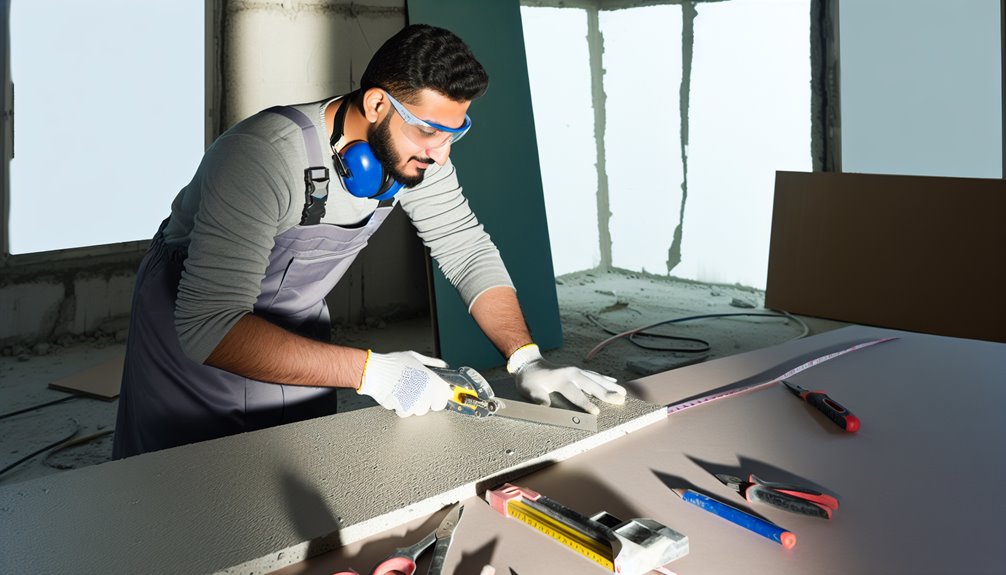
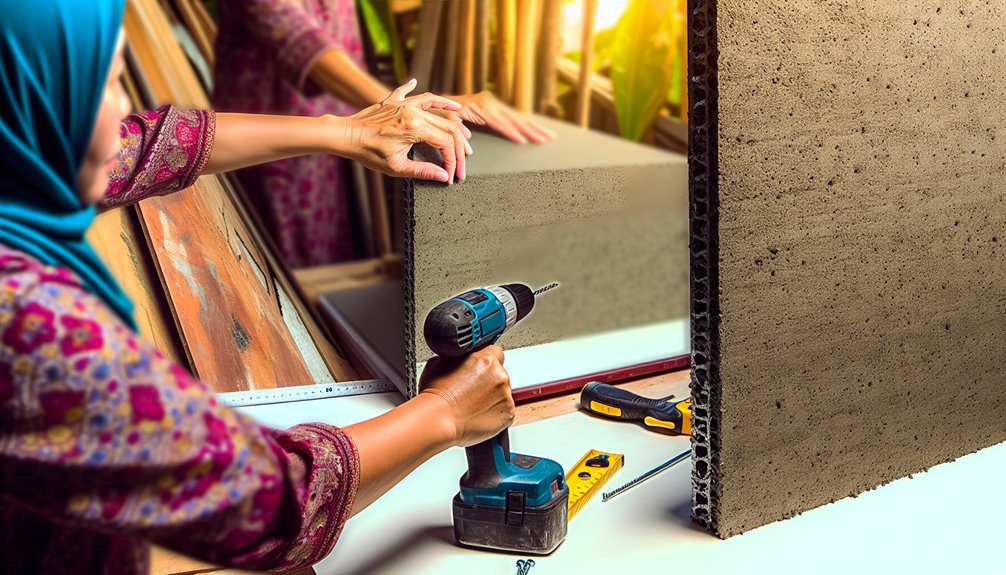
Cutting and handling cement board requires precision and care to guarantee a successful installation. Start by choosing the right cutting method to suit your needs.
Using a carbide-tipped knife for scoring and snapping is effective for straight cuts. If you prefer power tools, a circular saw with a carbide blade works well, but make sure you use dust protection to safeguard your health.
Handle the boards with caution to avoid edge damage, which could affect the installation.
A typical cement board installation can vary in duration based on the project's scope and preparation. For a small bathroom floor, expect to spend around 2–3 hours.
If you're tackling a full wall installation, set aside at least half a day. Time depends heavily on surface preparation and panel layout. Efficient planning and accurate measurements are essential to stay on schedule.
Confirm all materials and tools are ready before starting to avoid delays. Dry fitting panels beforehand can help streamline the process.
Properly marking and cutting the cement board reduces errors, saving you time. Being meticulous with thinset application and fastening will also guarantee a smooth installation.
Control each step to optimize efficiency and achieve professional results.
Yes, you can use cement board for exterior installations. It's designed for water durability and mold resistance, ensuring longevity. Use proper adhesives and follow installation guidelines meticulously to maintain structural integrity and ideal performance.
Cement board’s moisture resistance is unmatched, scoring a perfect 10 on ASTM D3273 for mold resistance, unlike drywall, which can swell and warp. Choose cement board for a stable, durable surface, ensuring reliable performance in wet environments.
Yes, you can use cement board with radiant floor heating. It withstands heat and provides a stable base for tiles. Guarantee even thinset application and proper fastener spacing to prevent movement, maintaining system efficiency and durability.
Cement board installations can last decades when properly installed and maintained. Confirm you use the right fasteners and thinset, avoid moisture issues, and stagger seams. These steps guarantee durability and maximize the lifespan of your installation.
You can paint cement board, but guarantee you apply a primer first to enhance adhesion. Use a high-quality acrylic latex paint for the best finish. Avoid oil-based paints as they may not adhere properly.
Proper cement board installation relies on careful preparation, correct mortar bedding, secure fastening, and reinforced joints. When these steps are followed, cement boards provide a durable, moisture-resistant substrate that supports long-lasting tile and wall assemblies. Skipping critical steps can lead to panel movement, cracked finishes, or premature failure.
For projects that require reliable wall substrates or engineered decorative panel systems, Phili Green Panels provides technical guidance on panel selection, system integration, and installation details.
If you are planning a project or evaluating panel materials, contact our team to discuss specifications, applications, or custom panel solutions.